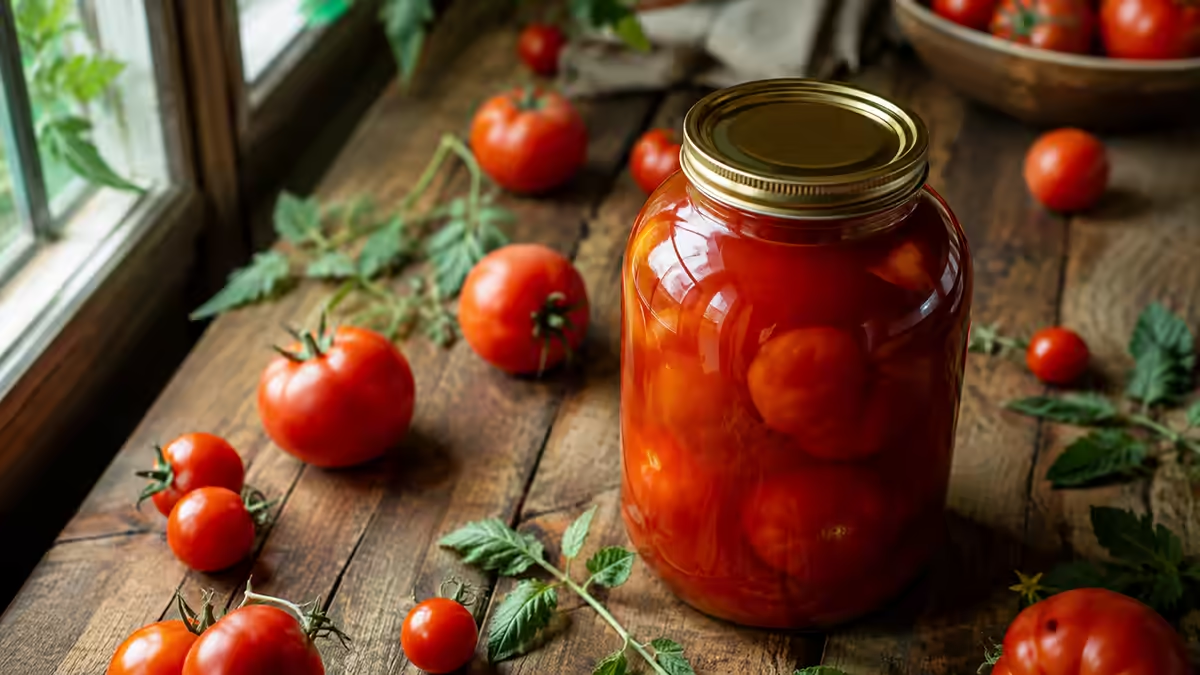
Every year at the end of summer, my kitchen is filled with a whole row of boxes of tomatoes, and every year I make this preserve right away. Tomatoes in their own juice without vinegar are the kind of preserve that comes in handy in the winter for literally everything: borscht, gravies, pizza, lecho, or simply as a sauce for meat. They have a vibrant, slightly tart flavor without a sharp vinegary aftertaste, so these tomatoes are suitable even for those who don’t like vinegar or for whom it’s contraindicated due to stomach conditions. I’ll share how I’ve been making this preserve for many years and what tips help the jars stay intact all winter without any explosions or fermentation.
Зміст
Over the years I’ve spent canning, I’ve probably tried a dozen variations of this recipe—with different amounts of salt, with added herbs, and using various sterilization methods. In the end, I settled on a combination that yields consistent results even in years with less-than-ideal harvests. In this article, I’ll share not only the recipe itself but also the details that aren’t usually included in short captions under photos on social media: why this specific ratio of whole fruit to juice is important, why some varieties work better than others, and what to do if the juice turns out too thin.
About this project
The idea behind preserving tomatoes in their own juice is simple: some of the tomatoes are covered with juice pureed from other ripe and juicy tomatoes. The result is a product that’s as close as possible to fresh tomatoes—no vinegar, no chemical preservatives, just salt and the natural acidity of the tomatoes themselves. It is this acidity, by the way, that acts as a natural preservative: ripe tomatoes contain enough organic acids to ensure the preserves keep well, provided they are properly sterilized.
I prepare this preserve in late August—early September, when tomatoes are at their cheapest and tastiest, and the harvest from the garden or the market is fully ripe. The main advantage of this preservation method is its versatility: open a jar in the winter, and you’ve got a ready-made base for sauce, gravy, or soup seasoning. There’s no need to puree anything further or mix in tomato paste.
Another plus is the honest list of ingredients. When you buy store-bought tomatoes in juice, you never know for sure how many preservatives, sugar, or thickeners are in them. With homemade preserves, everything is transparent: tomatoes, salt, and sometimes a little sugar to balance the flavor.
From a nutritional standpoint, it’s important to understand one thing: during heat treatment, some of the vitamin C in tomatoes is destroyed, and that’s normal—it happens with any form of preservation that involves heating. On the other hand, lycopene—the antioxidant that gives tomatoes their red color—is actually more easily absorbed by the body when cooked than when found in fresh tomatoes. So, homemade tomatoes packed in their own juice aren’t just delicious—they’re also quite healthy, especially compared to preserves that contain a lot of sugar, vinegar, or preservatives.
Another reason why I prefer this particular method of preservation over regular pickling with vinegar is the versatility of the flavor. Pickled tomatoes have a distinct tartness that doesn’t go well with all dishes. Tomatoes in their own juice, on the other hand, have a very neutral flavor that’s close to that of fresh tomatoes, so they can be added to virtually any dish that calls for tomatoes or tomato sauce, without the risk of “overpowering” the flavor with the excess acidity of vinegar.
Which tomatoes to choose
Half the success of this recipe depends on the quality of the ingredients, so I recommend choosing your tomatoes carefully.
For whole fruits in a jar:
- Choose small, firm tomatoes of uniform size—varieties such as “Slyvka,” “Dams’ki Palchiki,” “Cheremsh,” or other elongated varieties hold their shape well;
- The skin should be firm, without cracks or damage;
- The fruit should be ripe, but not overripe—when you press it with your finger, the flesh should spring back rather than give way;
- It is best to choose a size that allows the tomatoes to fit through the neck of the jar without any trouble.
For the filling (juice):
- Here, on the contrary, meaty, juicy, even slightly overripe tomatoes will work;
- Varieties such as “Bull’s Heart,” “Pink Giant,” or any large, meaty tomatoes with few seeds work well;
- Bruises or small cracks on these tomatoes aren’t a big deal, since they’re going to be chopped up anyway.
A general guideline is about 40% whole tomatoes and 60% tomato puree, but you can adjust this depending on which result you prefer: thicker jars or ones with more juice.
I’d like to say a few words about ripeness. Many people focus solely on the color of the skin, but it’s more important to pay attention to the firmness of the fruit and the smell near the stem—a ripe tomato has a bright, sweet, and herbaceous aroma. If there’s practically no smell, the tomato was most likely picked while still green and “ripened” off the vine, which means it will have less flavor and juiciness. Such tomatoes aren’t the best choice for this recipe—the juice from them will turn out watery and bland.
If you have your own garden, the best time to pick tomatoes for this recipe is early in the morning, before the heat has had a chance to soften the fruit. It’s better to buy tomatoes at the market from trusted vendors rather than at the supermarket: greenhouse tomatoes from chain stores are often grown for their appearance rather than their taste, and the juice from them turns out to be less flavorful.
Another point that’s often overlooked is the size of the fruit used to fill the jar. Tomatoes that are too large will need to be cut up, which changes the texture of the preserves. Tomatoes that are too small—like cherry tomatoes—aren’t always ideal either, because they fall apart quickly during sterilization and lose their shape. The optimal size is about the size of a chicken egg or slightly larger; this is the size that holds its shape well while cooking evenly.
Ingredients
For one 1-liter jar:
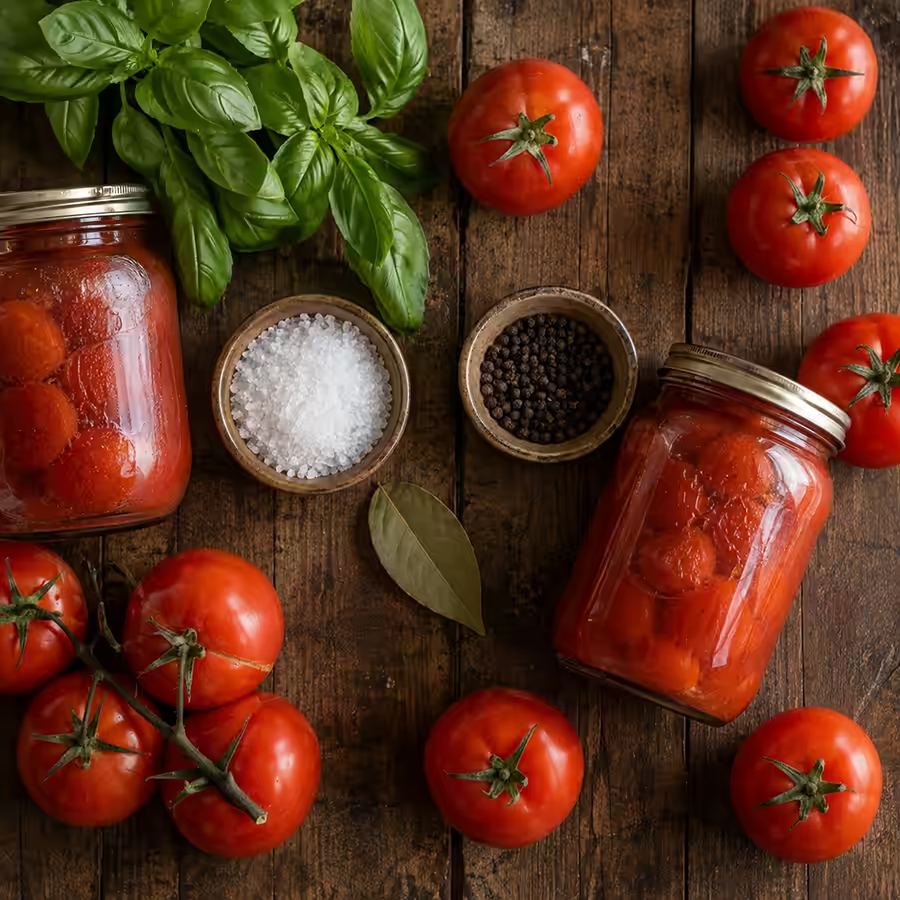
- Whole tomatoes (to fill the jar) — 500–600 g
- ripe, meaty tomatoes (for juice and marinade) — 700–800 g
- non-iodized rock salt — 1 teaspoon per liter of prepared juice
- sugar — half a teaspoon per liter of juice (optional, to balance the acidity)
- bay leaf — 1 per jar (optional)
- black peppercorns — 3–4 per jar (optional)
- fresh basil or celery — a few sprigs (optional, for flavor)
These proportions can easily be scaled up for any number of jars—the key is to maintain a ratio of roughly 40 to 60 between whole fruits and juice.
| Ingredient | Per 1 jar (1 L) | Makes 5 jars (5 liters) |
|---|---|---|
| Whole tomatoes | 500–600 g | 2.5–3 kg |
| Tomatoes for Juice | 700–800 g | 3.5–4 kg |
| Salt | one teaspoon | 5 tsp. |
| Sugar (optional) | ½ teaspoon | 2.5 tsp. |
| Bay leaf | one piece | 5 pieces |
| Peppercorns | 3-4 pieces | 15-20 pieces |
Step-by-Step Recipe
- Wash the tomatoes for the pickling liquid, remove the stems, and cut them into quarters. If the skin doesn’t bother you, you can leave it on—it will come off anyway after cooking and straining.
- Place the chopped tomatoes in a large, heavy-bottomed pot and set it over medium heat. Bring to a boil, stirring occasionally to prevent burning.
- Simmer the tomatoes for 10–15 minutes over low heat until they soften—they should become very soft and release a lot of juice.
- Strain the cooked tomatoes through a sieve or run them through a juicer to separate the skins and seeds. You should end up with a smooth, thick juice without any lumps or skins.
- Pour the juice back into a clean pot, place it on the stove, and bring it to a boil. Boil for another 10 minutes, skimming off any foam that rises to the top.
- Add salt and sugar based on the total volume of juice. Taste it and adjust as needed—the juice should be rich, slightly salty, and well-balanced in acidity.
- While the juice is simmering, prepare the tomatoes for filling the jars: wash them, remove the stems, and make 1–2 shallow pricks in each one with a toothpick near the base—this will help prevent the skin from cracking when the hot juice is poured in.
- Sterilize the jars using any convenient method—over steam, in the oven, or in the microwave—and boil the lids separately for 3–5 minutes.
- Pack the whole tomatoes tightly—but without applying too much pressure—into the prepared jars. If desired, add a bay leaf, a few peppercorns, and a sprig of basil or celery.
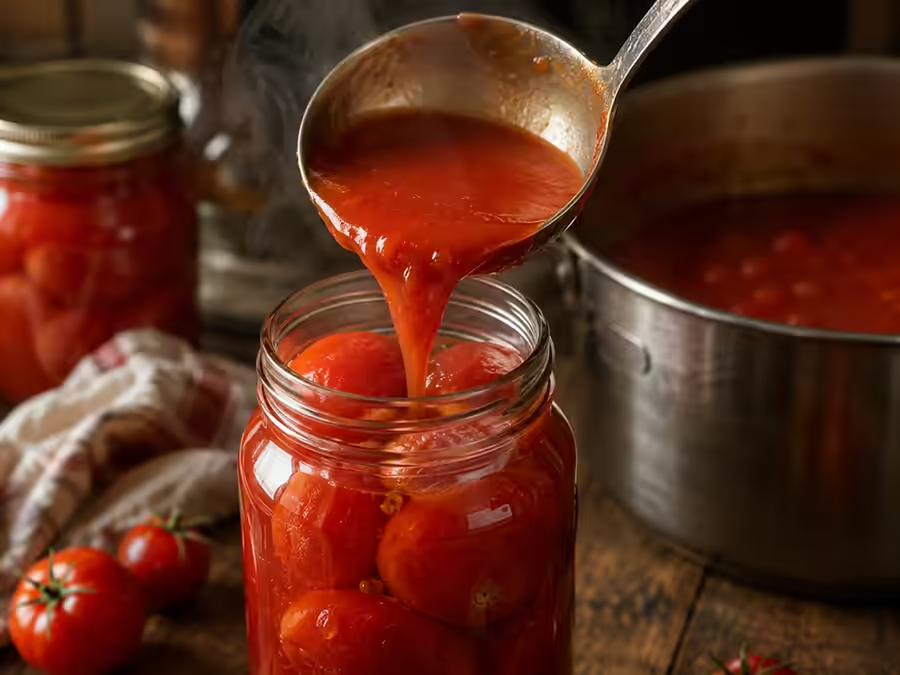
- Pour boiling tomato juice over the tomatoes in the jars until it reaches the shoulders of the tomatoes, leaving 1–1.5 centimeters to the top of the jar.
- Cover the jars with lids and place them in the sterilizer: 0.5-liter jars for 15 minutes, 1-liter jars for 20 minutes, and 3-liter jars for 30–35 minutes, starting from the moment the water in the sterilizing pot comes to a boil.
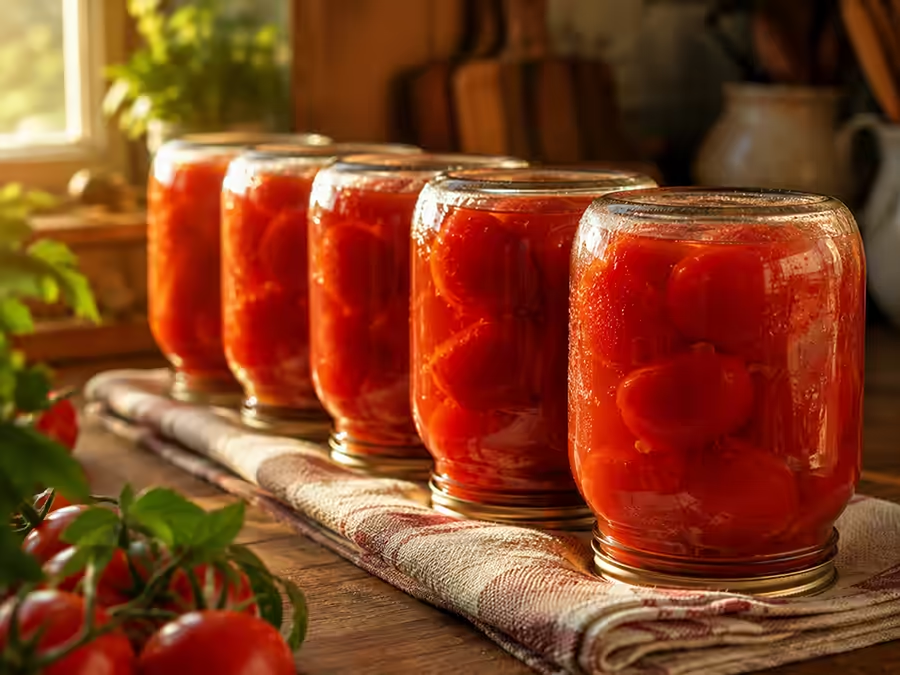
- Take out the jars, seal them tightly with lids right away, turn them upside down, wrap them in a warm blanket or towel, and leave them that way for 12–24 hours until they have cooled completely.
Comparison of Cooking Methods
There are two main approaches to this preparation, and each has its own advantages.
| Method | Advantages | Disadvantages |
|---|---|---|
| Sterilizing jars of tomatoes | Longest shelf life, maximum reliability | It takes more time and attention |
| The double-filling method (without subsequent sterilization) | Faster, less hassle with the sterilization pot | There is a slightly higher likelihood of damage if the procedure is not followed correctly |
If this is your first time canning or you’re unsure about how tightly the jars are sealed, choose the sterilization method—it’s more reliable. The double-filling method is suitable for those who already have experience and are confident in their jars and lids.
The difference in the final result between the two methods is practically imperceptible to the taste—both yield juicy, firm tomatoes with a rich brine. The main difference lies in the process itself: how much time and how many pots you’re willing to devote to canning. I personally started by sterilizing in a pot because it felt safer that way—you can see the whole process, and it’s easy to keep track of the time. It wasn’t until a few seasons later that I switched to double-filling for some of the jars, once I felt confident in what I was doing.
Alternative: the double-pour method
If you don’t want to go through the trouble of sterilizing jars in a pot, there’s an easier option.
- Place the tomatoes in sterilized jars as described above.
- Pour boiling water (regular boiled water) over the jars of tomatoes, cover them with lids, and let them sit for 10–15 minutes.
- Pour the water back into the pot through a special lid with holes or a colander, and bring it to a boil.
- Pour boiling water over the tomatoes again and let them sit for another 10 minutes; in the meantime, prepare the tomato juice by following steps 1–6 of the main recipe.
- Drain the water a second time, and instead fill the jars with hot tomato juice right up to the shoulders.
- Seal them immediately with lids, turn them upside down, wrap them up, and let them cool completely.
This method produces the same reliable results but saves time, since it does not require separately sterilizing the filled jars in a large pot.
Personally, I choose the method depending on how many jars I plan to can at a time. If I’m preparing 2–3 jars to test a new variety of tomatoes, I do a double filling—it’s faster and easier. But when I’m canning a large batch for the whole winter—a dozen jars or more—I use a large pot for sterilization. That way, it’s easier to monitor the process and I don’t have to worry about each jar individually, since they all undergo the same heat treatment at the same time.
It’s also worth noting that both methods are equally safe as long as you follow the proper procedure. The only difference is in convenience and the amount of time you’re willing to spend on the process. There’s no “better” method—there’s just the one that’s more convenient for you.
Tips and Common Mistakes
Don’t rush the process of straining the juice. If you strain the cooked tomatoes through a sieve too quickly, small seeds or pieces of skin may remain in the juice, which will then float to the top of the jar as unappetizing flakes. It’s better to strain it twice than to look at the jar with disappointment in the winter.
Do not overcook whole tomatoes inside the jar. If you sterilize them for too long, the skins will crack and the tomatoes will turn to mush. It’s best to follow the recommended time and cool the jars immediately.
Don’t skimp on the quality of the tomatoes you use for juice. Fleshy, ripe, sweet varieties produce a rich, thick juice. If you use watery or unripe tomatoes, the juice will turn out watery and sour.
Check the lids before sealing the jars. Even a small scratch or dent on the lid can prevent the jar from sealing properly. This is the most common reason why preserves “explode” or develop mold in the winter.
Don’t forget to prick the skins. If you don’t prick the skins of whole tomatoes, the hot liquid may cause them to crack right in the jar, and the tomatoes will lose their shape.
Keep an eye on the temperature of the juice. The juice should be boiling when you pour it into the jars—this is critical for proper sterilization and long-term storage.
Do not mix varieties with very different ripeness levels in the same jar. If some of the tomatoes are overripe and others are still firm, the sterilization process will be uneven: some tomatoes will fall apart, while others will remain firm.
Avoid iodized salt. Iodine can affect the taste and color of the preserved food, sometimes causing the brine to darken. Regular rock salt or table salt is better suited for preserving food.
Be sure to check for leaks after sealing. Turn the sealed jar upside down and check for bubbles or leaks around the lid. If you notice even the slightest trickle of liquid, you should either reseal the jar with a new lid or eat the contents as soon as possible, rather than storing it.
Do not pour juice that has had time to cool over the tomatoes. The temperature difference between the hot tomatoes in the jar and the barely warm juice can cause uneven sterilization, which increases the risk of fermentation in the winter. The juice should always be boiling, having just been removed from the heat.
Make sure the jars and lids are free of chips and rust. Even a small amount of rust on a lid is a sign that it’s best not to use it for canning. Such lids don’t provide a complete seal and are one of the most common causes of spoiled preserves.
If you follow these simple rules, the percentage of failed jars is practically zero. Personally, I haven’t lost a single jar of this preserve over the past few years—and the secret lies precisely in following the process, not in any special tricks.
Variations and Presentation
The basic recipe is easy to adapt to your own taste preferences:
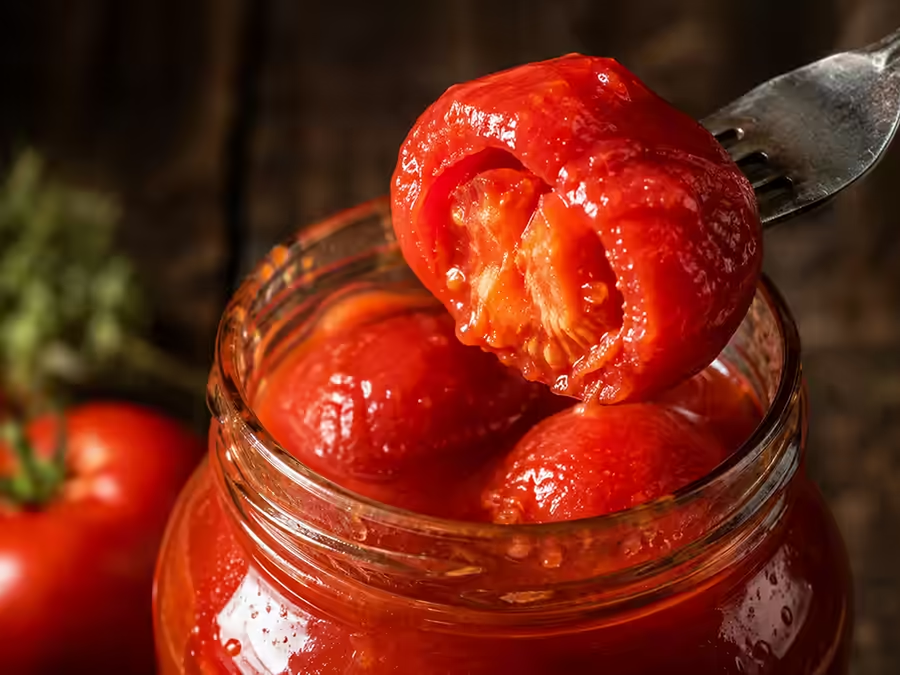
- With garlic and herbs. Add 1–2 cloves of garlic and a sprig of dill to each jar—this will result in a more aromatic preserve, similar to canned tomatoes in brine, but without vinegar.
- Spicy version. Add a small piece of hot pepper or a pinch of ground chili to the jar—the spiciness goes well with tomato juice.
- Served with a vegetable medley. You can replace some of the whole tomatoes with small zucchini, sweet peppers, or small onions—this will make the dish a more interesting side dish.
- With basil in the sauce. A few fresh basil leaves added directly to the tomato sauce before cooking give it a light Italian flavor—this sauce is perfect for pasta or pizza in the winter.
As for serving: whole canned tomatoes are great as a standalone appetizer to go with potatoes or meat, and the juice can be used as a base for borscht, lecho, Bolognese sauce, or homemade pizza. I also like to add this juice to braised meat instead of store-bought tomato paste—it gives the dish a much more natural flavor.
- Frozen juice portions. If you have extra juice left over after filling the jars, pour it into ice cube trays and freeze it. In the winter, it’s convenient to toss these cubes right into a skillet for a quick sauce, without having to open a whole jar just for a few spoonfuls.
- With carrots added to the juice. A small amount of grated carrots, simmered with the tomatoes before straining, gives the juice a light, natural sweetness and a thicker consistency—it tastes especially good in borscht.
- A spicy version with cilantro. A few cilantro seeds added to the jar along with peppercorns give it a surprisingly pleasant, slightly exotic flavor—try it in at least one jar just to see what happens.
Overall, this preserve is so versatile that I’d recommend making at least a few jars using the basic recipe and a few with some variation. That way, in the winter, you’ll have something to compare them to and figure out which version your family likes best.
Sometimes people ask me if this base can be used to make homemade ketchup or adjika. The answer is yes, and it works very well: the thick, rich juice is already half the sauce—all you have to do is simmer it with garlic, spices, and a small amount of starch to thicken it. That’s how one jar turns into another dish, and it’s especially nice in the winter when you’re craving something homemade and quick.
Storage
Store the finished product in a cool, dark place—a cellar, pantry, or even a cupboard—away from radiators. When properly sterilized and hermetically sealed, tomatoes in their own juice without vinegar will keep perfectly well until next summer, and often even longer. If you notice that the lid on a jar has bulged or the brine has become cloudy, it’s best not to eat that jar—this is a sign that the preservation process has been compromised.
Direct sunlight is another enemy of long-term storage: under its influence, the color of the preserves fades more quickly, and some of the nutrients are destroyed. Therefore, even if you don’t have a separate cool room, at least choose a dark cabinet that’s shielded from daylight.
Before opening a jar in the winter, inspect it one more time: the lid should be drawn inward, without any bulging, and the brine should be clear, without any cloudiness or flakes. A light, whitish sediment at the bottom of the jar is normal; it consists of natural pulp particles that have settled during storage and poses no danger.
Once opened, keep the jar in the refrigerator and use it within 5–7 days.
Here’s another tip from my own experience: label the jars with the date they were preserved. It may seem like a small thing, but when you have preserves that are two or three years old sitting on the shelf, it’s easy to forget which batch is the oldest. I always write the month and year on the lid with a marker—this helps me use up my supplies in the right order and avoid keeping the jars longer than necessary.
If you plan to store your preserves for more than one season, choose a location with the most stable temperature possible—fluctuations between hot and cold shorten the shelf life even with ideal sterilization. In an apartment, a pantry or even the bottom shelf of a closet in the hallway—away from the stove and radiators—works well.
Frequently Asked Questions
Is it possible to make this preserve without sterilization at all? I don’t recommend completely skipping the heat treatment. The natural acidity of tomatoes helps preserve the preparation, but without sterilization or double-filling, the risk of fermentation increases significantly, especially if the jars are stored in a warm room.
Why did the juice turn out watery instead of thick? Most often, the reason lies in the choice of tomatoes—watery or unripe varieties produce watery juice. Try using meatier varieties or simmer the juice a little longer so that some of the moisture evaporates.
Can you substitute honey for sugar? Yes, you can, but add the honey to the hot juice after it’s already been cooked, removing it from the heat for a few minutes to preserve its health benefits. The flavor will be slightly milder.
How long do these tomatoes last without refrigeration? If properly sterilized and stored in a cool, dark place, they can last up to 12 months. The key is to avoid temperature fluctuations and direct sunlight.
Do you need to add aspirin or citric acid to ensure safety? No, if you follow the proper sterilization procedure and use ripe, high-quality tomatoes, no additional preservatives are needed. The natural acidity of the tomatoes is sufficient.
Can I make this preserve without sugar? Yes, the sugar is used here purely to balance the flavor and does not affect the shelf life. If the tomatoes for the juice are sweet and ripe enough, you can omit the sugar.
Can tomatoes with cracks or bruised sides be used for canning? Yes, if the damage is minor—just cut out the damaged part before cooking. For canning, the appearance of the tomatoes isn’t critical; the main thing is that the flesh beneath the damaged area remains fresh and shows no signs of rot.
What should you do if not all the whole tomatoes fit into the neck of the jar? Cut them in half or into quarters—this won’t affect the preserves; they’ll just be called “chopped tomatoes in their own juice” instead of “whole tomatoes.” The taste and shelf life remain the same.
Does this recipe work for 3-liter jars? Yes, the ingredient proportions remain the same; only the sterilization time increases—to approximately 30–35 minutes for a 3-liter jar, instead of 15–20 minutes for smaller jars.