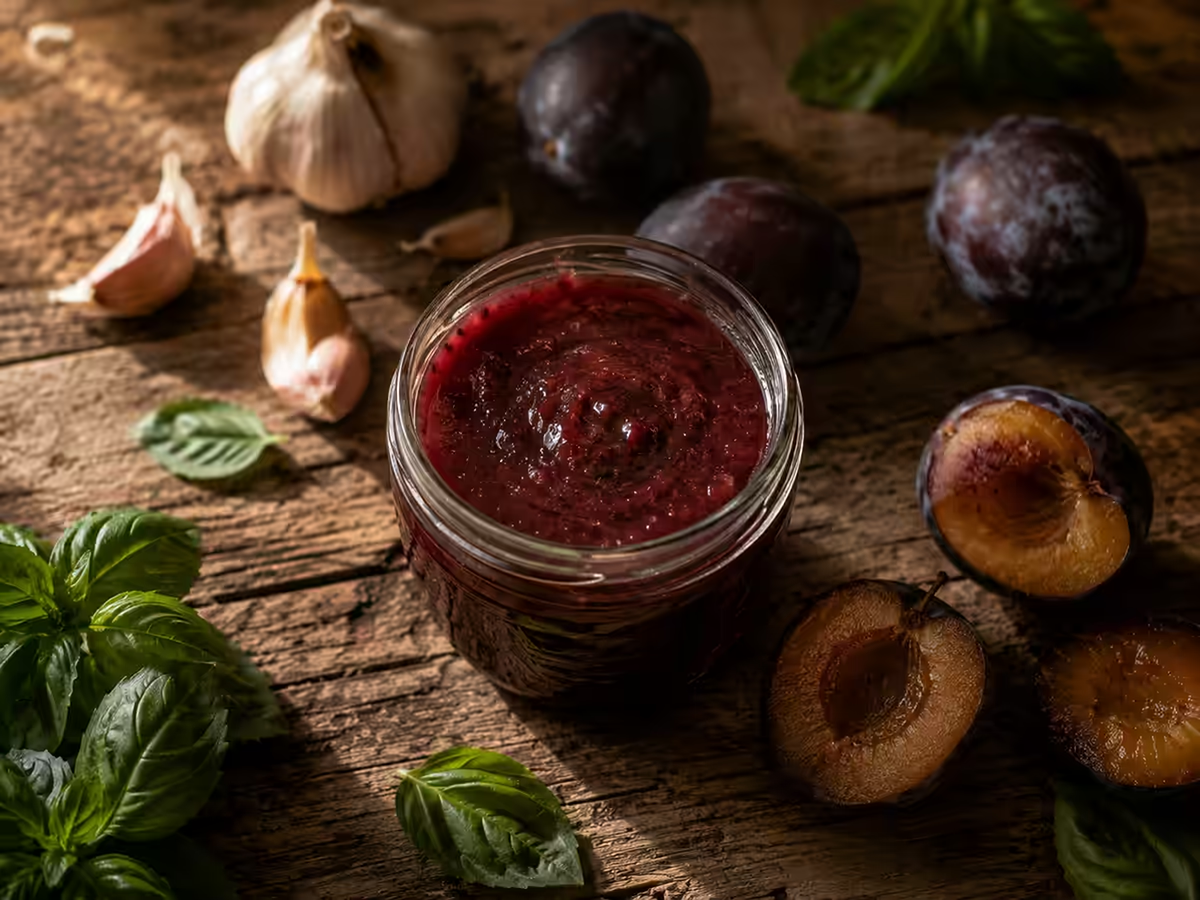
Every August, when the plums fall from the tree faster than I can eat them, a jar of thick burgundy sauce appears in my fridge—and that’s exactly what saves the day. Plum sauce for meat is one of those rare instances where a simple seasonal ingredient transforms into something truly restaurant-worthy, and it comes together in literally an hour without any complicated techniques. I’ve been making it for about seven years now, and over that time, I’ve refined the recipe to the point where there’s nothing superfluous left—just the ingredients that really bring out the flavor.
Content
This sauce comes in handy in three situations: when I need to quickly jazz up a plain kebab, when I want to preserve something savory for the winter instead of yet another batch of jam, and when a somewhat dry roasted chicken or turkey ends up on the table, lacking moisture and flavor. In all three cases, plum sauce works better than store-bought ketchup or mayonnaise-based dressings.
About this sauce
Plum sauce is a distant relative of Georgian tkemali, but it’s much simpler to make and doesn’t require the sour, unripe plums used in tkemali, which are almost never found in our markets. Classic tkemali is made specifically from wild sour cherry plums or unripe plums, so in Georgian cuisine, its tartness comes naturally from the fruit itself. I’ve adapted the recipe for regular ripe plums, which are sold in every rural store or grow in the summer cottages of nearly every other Ukrainian.
The tartness and depth of flavor here come not from the variety of plums, but from the right combination of vinegar, garlic, and spices—meaning the result is very similar in spirit, but accessible in any region and at any time of the season.
This sauce strikes a perfect balance between sweet and sour, so it pairs equally well with a rich pork shashlik—where the acidity cuts through the fat and makes the meal feel lighter—and with a dry chicken breast, which needs moisture and a burst of flavor. In Georgian, Armenian, and, to some extent, Moldovan cuisines, similar fruit sauces are traditionally served with any kind of grilled meat, and this is no coincidence—tart fruit always pairs well with smoky, grilled meat, balancing the richness and adding a sense of completeness to the dish.
Compared to store-bought ketchup or barbecue sauce, homemade plum sauce has a significant advantage: you know for sure that it contains no added sugar, preservatives, thickeners, or flavor enhancers. Plus, the cost is much lower, especially if you grow plums at your summer cottage or buy them for next to nothing at the market during harvest season in the fall.
I either make it in small batches a few days in advance—in which case I use fresh garlic and a little less vinegar—or I immediately can it in jars to stock up for the winter, and then in the winter, I always have something more flavorful than regular mayonnaise on hand to go with roast chicken, cutlets, or homemade sausages.
Which Plums to Choose
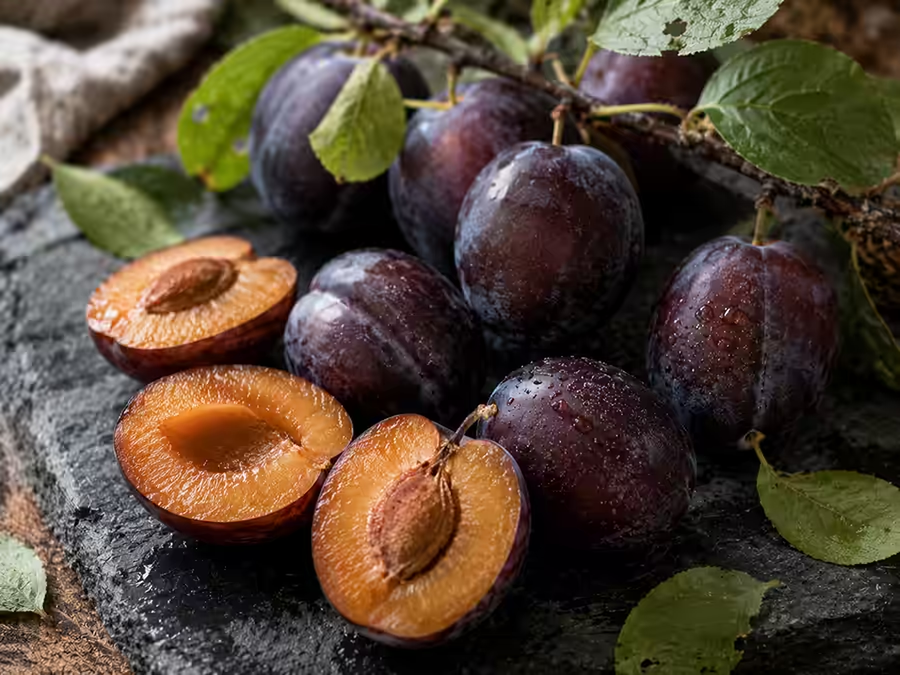
Dark, meaty varieties work best for this sauce—such as Ungarka, Renklod with its rich color, Crimean plums, or the common “blue plum” sold in bags in the fall. It’s important that the plums be ripe, even slightly overripe—that way, they cook down more easily and yield a rich color. Unripe, firm plums can also be used, but they’ll take longer to cook, and the sauce will turn out lighter in color and less appetizing. Yellow plum varieties also work; the sauce will simply have a different hue—golden-amber instead of burgundy—but the flavor won’t be significantly affected.
At the market, try to choose plums with no damage to the skin and no signs of rot, but a few small bruises are fine—for the sauce, everything goes into the pot anyway and is simmered until smooth. The best time to preserve plums is late August and September, when they’re at their cheapest and juiciest, and there’s often just too much of the harvest to handle. If you’re buying plums specifically for the sauce rather than picking your own, look for firm, fragrant fruits—you can smell a ripe plum right away, even through the mesh bag on the counter.
What can be used as substitutes for the ingredients?
Sometimes you just don’t have a certain ingredient on hand, so you have to adapt the recipe. You can cut the garlic in half if you’re planning to serve this to children, or omit it entirely and replace it with a small amount of dried garlic powder, which gives a milder, less pungent flavor. Instead of khmeli-suneli, you can use store-bought adjika without the heat—it already contains a similar blend of spices, but you should add it carefully, in small portions, tasting as you go. It’s best to use regular table salt, not iodized—iodized salt can sometimes give the prepared sauce a slight metallic aftertaste if stored for a long time.
You can substitute cane sugar in the same proportion; it will add a light caramel note that pairs well with the fruit sauce.
Ingredients
To make about 500–600 ml of finished sauce, you will need:
- ripe plums — 1 kg (preferably dark varieties, such as Hungarian or Crimean plums)
- garlic — 4–5 cloves
- sugar — 2–3 tablespoons (depending on how sweet the plums are)
- salt — 1 level teaspoon
- 9% vinegar — 1 tablespoon (can be replaced with the juice of half a lemon)
- khmeli-suneli — 1 teaspoon
- ground coriander — 0.5 teaspoon
- ground red chili pepper — a pinch or to taste
- ground black pepper — a pinch
- dried basil — 0.5 teaspoon (optional, but it tastes great with purple basil)
- water — 50–100 ml, for cooking and if the sauce turns out too thick
If the plums are very sour, increase the sugar to 4 tablespoons to avoid a taste that’s too sharp. If, on the other hand, the plums are very sweet, add another half a spoonful of vinegar; otherwise, the sauce will turn out bland and lack that tangy note that connoisseurs of sweet-and-sour dressings usually love.
As for vinegar, I usually use regular 9% table vinegar, but apple cider vinegar works great too and even adds a subtle fruity note that complements the plums nicely. Lemon juice is the mildest option; it’s a good choice if you’re making the sauce for children or for those who don’t like strong acidity.
Step-by-Step Recipe
- Wash the plums, cut them in half, and remove the pits. There’s no need to peel them—the skin adds color and cooks down beautifully along with the flesh.
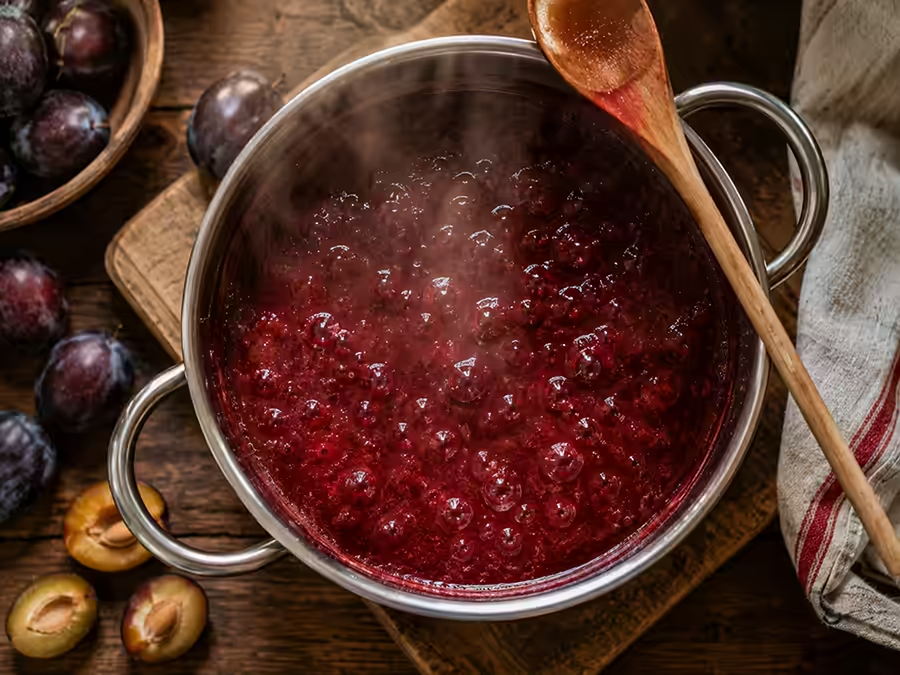
- Place the plums in a heavy-bottomed pot, add 50 ml of water to prevent them from burning at the start of cooking, until they release their own juice.
- Set the heat to medium and cook for 15–20 minutes, stirring occasionally, until the plums are completely softened and begin to fall apart into fibers.
- Remove from the heat and let it cool slightly for 5–10 minutes so that you can continue working comfortably and safely without burning your hands.
- Strain the mixture through a sieve to remove the peel—this is the most important step; it makes the sauce velvety smooth, rather than leaving bits of peel that get stuck in your teeth and ruin the texture.
- Return the mashed potatoes to the pot and place it over low heat.
- Add the sugar and salt, and continue cooking for another 10–15 minutes, stirring occasionally, so that the excess liquid evaporates and the sauce thickens noticeably.
- Press the garlic through a garlic press and add it to the sauce 3–4 minutes before it’s done—that way, it won’t lose its flavor from cooking too long and won’t become bitter.
- Add the suneli hops, cilantro, black and red pepper, and basil. Stir and simmer for another 2–3 minutes over low heat to let the spices release their flavor.
- Pour in the vinegar, bring to a boil, and immediately remove from the heat—boiling the sauce with vinegar for too long dulls the fresh flavor and makes the sauce unnecessarily sharp.
- Taste for salt and acidity, and adjust with sugar, salt, or vinegar as needed—you can still fix anything at this stage.
- Pour the hot sauce into sterilized jars if you plan to store it for a long time, or transfer it to a glass container for the refrigerator if you’ll be eating it within a week.
How to Properly Preserve Food for the Winter
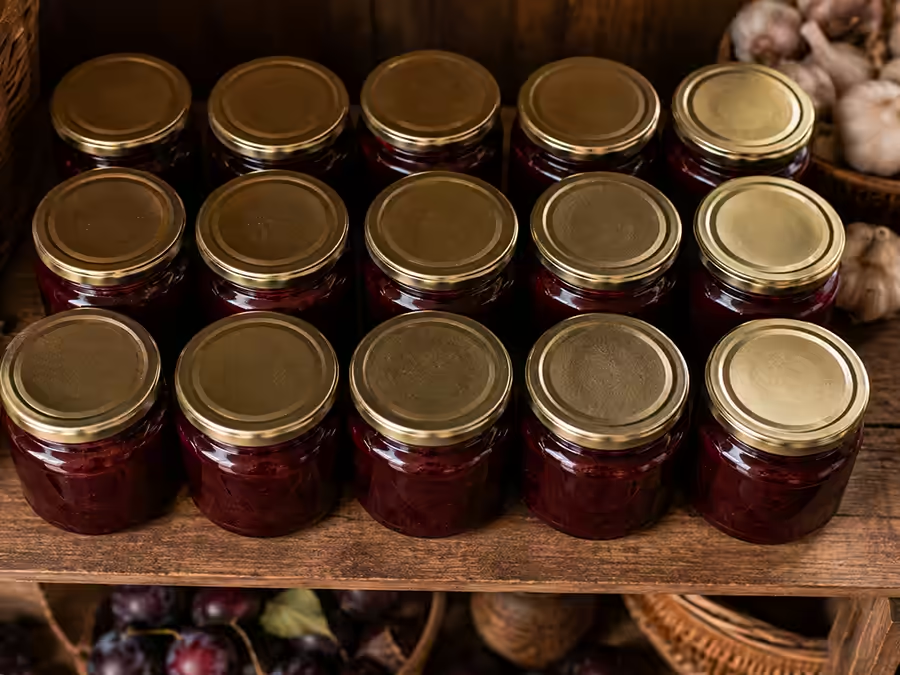
If you’re preserving the sauce for the winter, sterilize the jars in advance over steam or in the oven at 120 °C for 10–15 minutes, and boil the lids separately for 5 minutes. For this sauce, it’s best to use small jars with a capacity of 200–350 ml—this amount is usually consumed within a couple of weeks after opening, so the sauce doesn’t have time to lose its freshness in the refrigerator. Pour the hot sauce into the jars right to the top, leaving as little air as possible, and seal them immediately.
After sealing, turn the jars upside down, wrap them in a blanket or warm towel, and leave them that way until they’ve cooled completely—about a day. This provides an extra guarantee of an airtight seal and acts as a form of slow pasteurization, which extends the shelf life.
Before putting the jars away for long-term storage, be sure to check that the lids are airtight: if the lid doesn’t click or give way when pressed, the jar is sealed properly and you can safely store it in the pantry or basement until winter.
Table: How Long Does the Sauce Last?
| Storage Instructions | Term |
|---|---|
| In the refrigerator, a glass jar with a lid | up to 10 days |
| Sterilized jars, heat-sealed | Up to 1 year in a cool, dark place |
| Freezing in a container | up to 6 months |
Tips and Common Mistakes
Over the years of training, I’ve gathered a few insights that really do make a difference in the final result.
Don’t try to save time by skipping the straining step. Without this step, the sauce will end up with small pieces of peel, and the texture will be far from the smooth consistency you expect from a real fruit sauce to go with meat. Yes, this is the longest and most tedious step, but it’s the one that determines the result—and that’s what made the whole effort worthwhile.
Don’t cook the garlic with the plums right from the start. If you add it to the pot right away, it will release all its aroma into the steam, and the flavor will be nothing more than a faint hint instead of a rich garlic note. Garlic benefits from brief heat treatment right at the very end of cooking.
Keep an eye on the consistency while cooking. The finished sauce should be thicker than ketchup, but not as thick as tomato paste. If it turns out too runny, simmer it longer over low heat without a lid—the water will evaporate, and the sauce will thicken naturally, without adding starch or other thickeners.
Don’t be afraid to adjust the acidity to your taste. Plum varieties vary greatly in acidity and sweetness depending on their ripeness and the region where they’re grown, so the amounts of sugar and vinegar in the recipe are just a rough starting point. Always taste the sauce halfway through cooking and adjust the proportions to your liking.
If you plan to preserve the sauce for the winter, be sure to let it boil for at least 5 minutes after adding all the ingredients, including the vinegar—this is important for safe storage at room temperature over a long period of time.
Another common mistake is using aluminum cookware for cooking. The acid in plums and vinegar reacts with the aluminum, and the sauce may develop an unpleasant metallic aftertaste and lose some of its color. It’s best to use a stainless steel pot or one with an enamel coating that’s free of chips and scratches.
And one last thing: don’t add all the spices right at the start of cooking. Prolonged heating causes the essential oils in the cilantro, suneli hops, and pepper to evaporate, so the sauce will end up less aromatic. Spices, like garlic, release their full flavor best when added shortly before the dish is finished.
Variations and Presentation
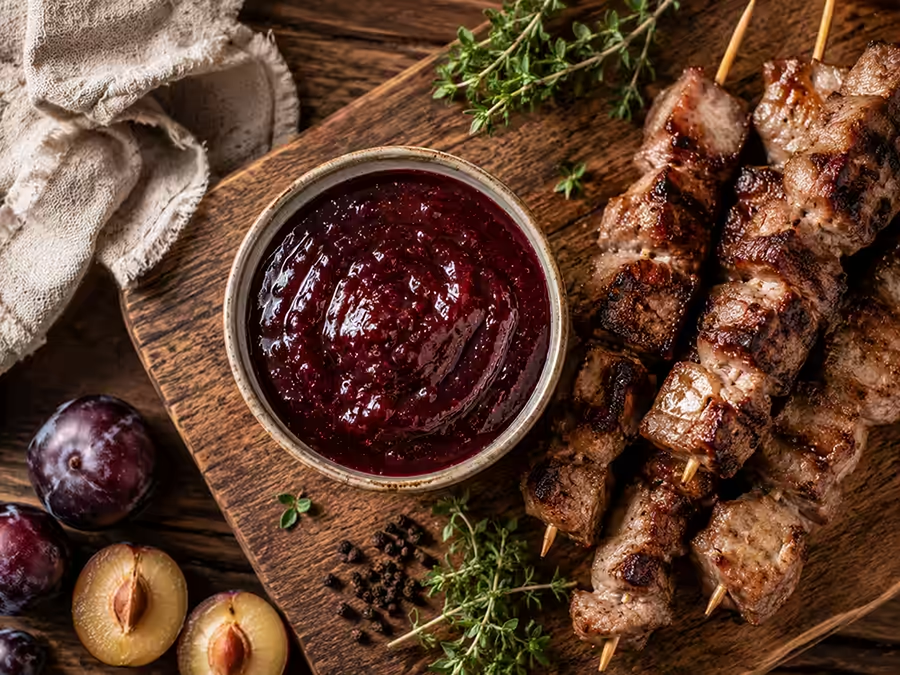
The basic recipe is easy to adapt to your mood, the season, and whatever ingredients you have on hand at the moment.
Spicy plum sauce. Add fresh, chopped chili peppers instead of ground ones, or double the amount of cayenne pepper. This version pairs perfectly with fatty lamb, pork ribs, or homemade grilled sausages, where a bold spiciness is needed to cut through the richness of the meat.
A sauce with a hint of tkemali. Add a bunch of fresh cilantro, finely chopped at the end of cooking, and a little more dried mint. This will bring the flavor closer to that of a classic Georgian sauce, although the base will still be much simpler to prepare and easier to find in terms of ingredients.
The honey version. Replace half the sugar with honey—the sauce will be more aromatic and slightly less sharp in flavor; it pairs well with roast duck, goose, or any game with a rich, meaty flavor.
With apples. If you don’t have many plums but want more sauce, add 2–3 tart apples along with the plums while they’re cooking. The flavor will become milder and a bit more complex, and the consistency will be even thicker—almost like homemade jam, only unsweetened.
Nut sauce. At the end of cooking, add 2–3 tablespoons of chopped walnuts. The result is something between a plum sauce and Georgian satsivi—a thicker texture and a nutty aftertaste that pairs especially well with poultry.
Plum sauce is best served chilled or at room temperature—with hot shashlik, grilled meats, roasted chicken, duck, cutlets, or even simple grilled sausages. It also works well as a marinade: if you brush it onto the meat an hour before cooking, it will become juicier and develop a light, tangy crust on top. Another one of my favorite ways to serve it is to place a small bowl of the sauce next to a platter of sliced meat assortment on the holiday table, so each guest can help themselves to as much as they want without overloading their plate.
The sauce also pairs well with cheeses—especially with homemade brynza-style cheese or young goat cheese, where the sauce’s tanginess highlights the creaminess and adds contrast to the dish. I’ve also tried serving it with a simple homemade pâté—it turned out surprisingly well; the tang perfectly balances the richness of the pâté.
By the way, this sauce is fairly low in calories compared to mayonnaise-based dressings—approximately 90–110 kcal per 100 g, depending on the amount of sugar. That’s significantly less than in most store-bought mayonnaise- or cream-based sauces, so even those watching their diet can treat themselves to a couple of spoonfuls without feeling guilty.
If you’re preparing a sauce for a holiday meal, small individual sauce boats or even regular dessert bowls look more appropriate than a single large bowl. Guests are more likely to help themselves to the sauce when it’s presented neatly and within easy reach at each place setting, rather than tucked away in a corner.
What kind of meat goes best with the sauce?
| Type of meat | Why is it a good fit? |
|---|---|
| Pork kebab | The acid breaks down the fat and makes the flavor lighter |
| Grilled or Baked Chicken | Adds moisture and juiciness to dry meat |
| Lamb | The tartness of the fruit neutralizes the distinctive odor |
| Duck, goose | The sweet-and-sour flavor pairs perfectly with rich poultry dishes |
| Cutlets, homemade sausages | Replaces ketchup and adds depth of flavor |
Frequently Asked Questions
Can you make sauce from frozen plums? Yes, frozen plums will work—just let them thaw completely before cooking and drain off any excess liquid released during thawing; otherwise, the sauce will take longer to cook and may turn out too runny, even after additional reduction.
What can you use instead of khmeli-suneli if you don’t have any? You can make your own blend using dried dill, parsley, thyme, and a small amount of saffron or turmeric for color. The flavor will be slightly different, less complex, but the overall flavor profile will remain the same.
Do you need to peel the plums before cooking? No, you shouldn’t peel them—the skin softens during cooking and comes off easily when strained through a sieve, and it also gives the sauce a beautiful, rich burgundy color that’s hard to achieve otherwise.
The sauce turned out too sour—what should I do? Add a little more sugar and simmer for 3–5 minutes so it dissolves and the flavors blend together. If the sourness is still too strong, a small pinch of extra salt will also help mellow the sour taste on your tongue.
Can this sauce be used as a marinade for meat? Yes, it works great as a marinade. Coat the meat with the sauce 1–2 hours before cooking; if necessary, add a little oil so the marinade spreads more evenly over the surface and doesn’t burn on the grill.
How much sauce will you get from 1 kg of plums? Approximately 500–600 ml of finished sauce, depending on how juicy the plums are and how long you simmered it—simmering for longer yields a smaller volume but a thicker texture.
Can you reduce the amount of sugar for a lighter version? Yes, but in that case, you should compensate for the sweetness with a slightly larger amount of ripe plums or a small amount of honey. You shouldn’t eliminate the sugar entirely—it not only sweetens the sauce but also helps thicken it and preserve its color.
Why did the sauce darken after cooking? This is a normal reaction of the fruit pulp to contact with air and prolonged heat treatment; it does not affect the taste or safety of the product. If the color bothers you aesthetically, reduce the total cooking time by 5–7 minutes and cook over slightly lower heat.
Can this sauce be frozen in ice cube trays? Yes, this is a convenient way to store small portions for daily use. Pour the cooled sauce into the trays, freeze it, and then transfer the cubes to a freezer bag—this way, you can take out exactly as much sauce as you need for a single meal without having to thaw the entire jar.
Is it possible to preserve plum sauce for the winter without sterilizing the jars?
Yes, it is, if you boil the sauce for at least 5–7 minutes after adding vinegar and pour it while still boiling into thoroughly washed, dry jars, sealing them immediately. But I still recommend sterilizing the jars for at least 5–10 minutes over steam—it doesn’t take much time, but it ensures that the sauce will keep in the pantry all winter without spoiling.
Can I use cherry plums instead of regular plums for this recipe?
Yes, cherry plums work perfectly and even bring the flavor closer to that of classic Georgian tkemali, since they’re naturally more tart than regular plums. If you’re using cherry plums, cut the amount of vinegar in half and taste the sauce for acidity earlier—you’ll most likely need to add a little more sugar.
Is it possible to remove the skin from plums without a sieve by pouring boiling water over them?
Yes, this is an alternative method: pour boiling water over the plums for 1–2 minutes, after which the skin can be easily removed by hand before cooking. This is convenient if you want to avoid straining them through a sieve, but it takes a little more time during the preparation stage than my method of boiling and then straining.