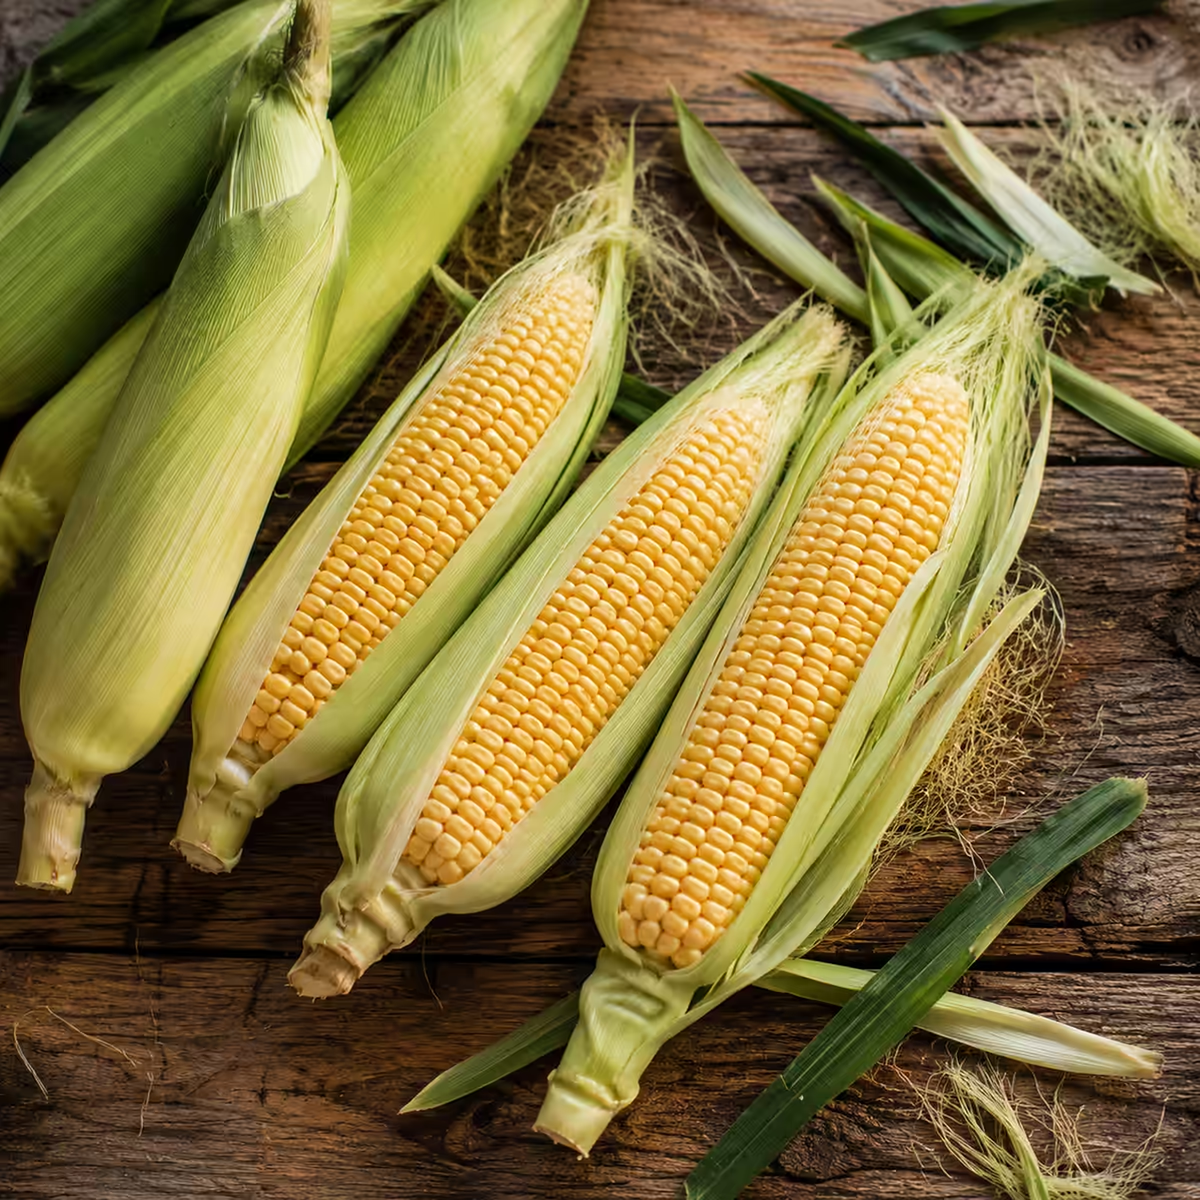
Every summer I buy whole boxes of corn while it’s still young and juicy, rather than that tough stuff they sell in the winter—who knows where it comes from. And every year, I’m faced with the same question: how can I freeze corn so that it tastes almost exactly like it just came from the garden when I eat it in the winter? Over the past few years, I’ve tried every possible method—on the cob, as kernels, raw, and boiled—and in this article, I’ll honestly share what worked well and what turned out to be a waste of freezer space.
Content
Why You Should Freeze Corn Yourself
Store-bought frozen corn is convenient, but it often involves a compromise. Manufacturers freeze the harvest in large batches, sometimes just a few days after harvest, and during that time, the sugars have already partially converted to starch. In addition, store-bought packages rarely specify the variety or ripeness level, so the taste can vary significantly from batch to batch. When I freeze corn myself, I know exactly where it comes from, how fresh it is, and how much time has passed from the garden to the freezer—ideally, no more than a few hours. That’s the main reason why homemade frozen corn is almost always tastier than store-bought corn.
Cost savings are also a significant factor. At the height of the season, in July and August, corn is several times cheaper than in winter or spring, when it’s shipped from far away. By freezing a few dozen ears of corn in the summer, I’m essentially locking in the summer price for the whole year ahead.
About Freezing Corn
Corn is one of the few garden crops that loses almost none of its flavor or texture after freezing, as long as you do it right. The secret is that the sugars in corn kernels begin to turn into starch almost immediately after harvest, so the sooner you freeze the ears, the juicier they’ll be in the winter. Homemade frozen corn often tastes even better than fresh corn bought out of season, because the latter has already lost most of its sugars during storage and transportation.
There are three main ways to freeze corn: as whole ears, as kernels cut from the cob, or after it has been cooked or blanched. Each method has its own advantages, and the choice depends on how you plan to use the corn in the winter—whether you’ll serve whole ears at the table or add it to salads, soups, stews, or casseroles.
Which variety of corn should you choose for freezing?
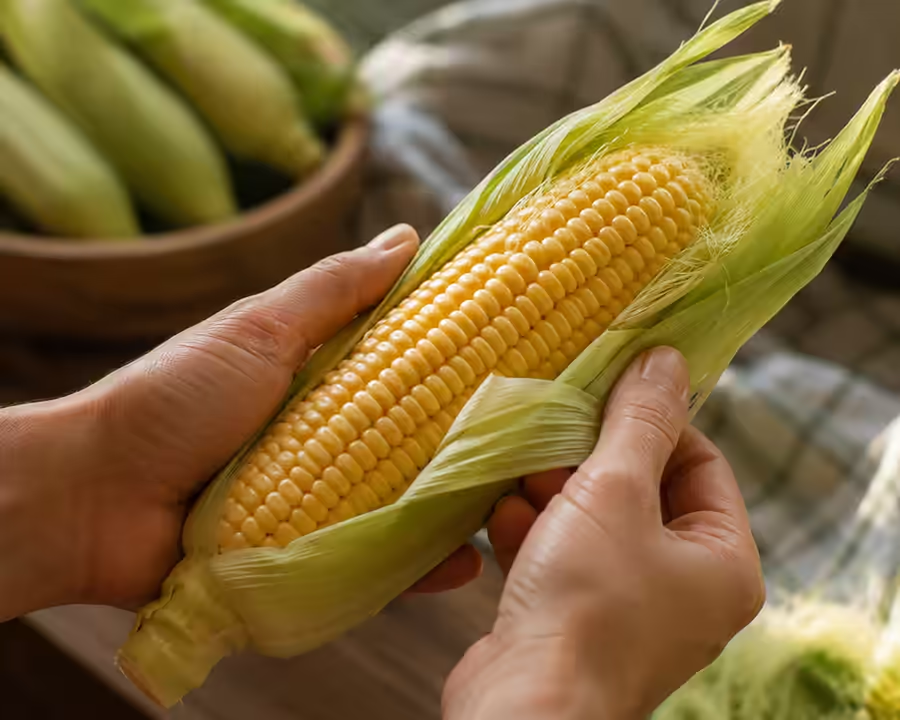
Sweet corn at the milky-waxy stage of ripeness is best suited for freezing—that is, when the kernels are still firm and juicy, and a white, milky liquid oozes out when pressed with a fingernail. Overripe corn with hard, starchy kernels will become rubbery and unpalatable after freezing, no matter how long you cook it. So if you’re buying at the market, be sure to check the quality of the ears: the husks should be fresh and green, with no dry edges, and the silks should be light in color, slightly sticky, and free of discoloration.
The best time to freeze corn is immediately after harvesting or purchasing it, within 24 hours at most. The longer the corn sits at room temperature, the more sugars are converted to starch, and the poorer the quality of the frozen ears will be.
If you’re buying corn at the market that wasn’t picked straight from the field but was delivered that morning, also pay attention to the weight of the cob: a fresh cob always feels noticeably heavier than you’d expect given its size, because the kernels are plump with juice. Ears that feel light, as if they’re hollow to the touch, are a sign that the harvest has been in transit for several days, and there’s little point in freezing them.
How much corn does one ear yield?
This is the question I hear most often when I’m planning how many heads of corn to buy for the winter. One medium head, 18–20 cm long, yields about 150–180 g of kernels after cutting. So if you want to freeze, say, 3 kg of kernels for storage, you’ll need about 18–20 heads. For heads you plan to freeze whole, the calculation is simpler—count them by the head, using 1–2 heads per serving per person as a guideline.
Ingredients and Equipment
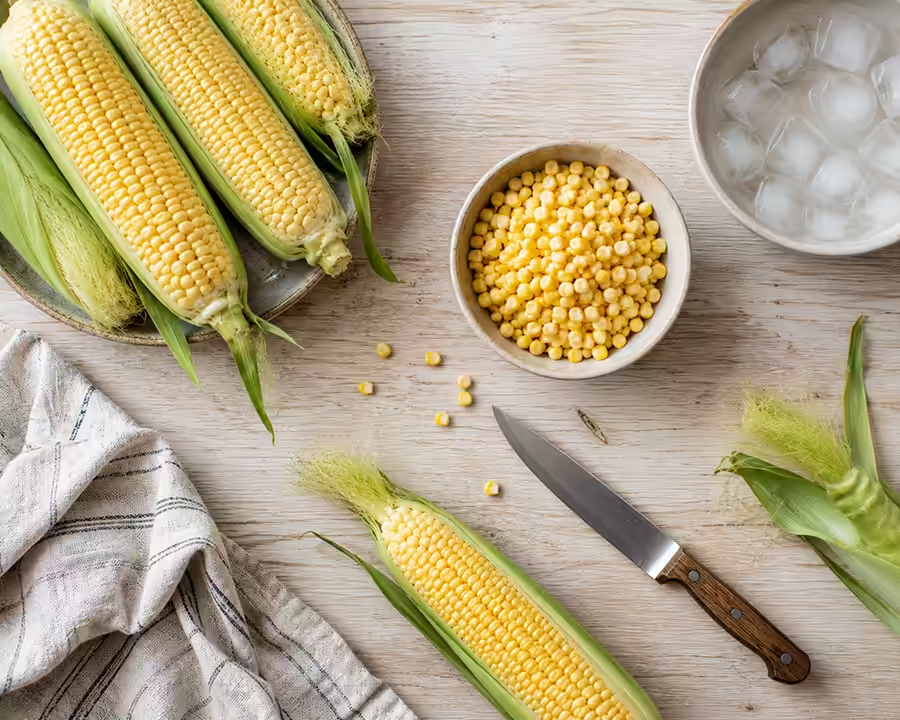
- sweet corn, at the milky-waxy stage of ripeness — as much as you plan to freeze
- water for blanching — enough to fill a large 4–5-liter pot
- ice or very cold water for cooling
- a sharp knife for cutting off the kernels (if necessary)
- freezer bags or vacuum-sealed bags
- paper towels for drying
Corn doesn’t need any additional spices or preservatives—it freezes perfectly just as it is.
Freezing Whole Corn Cobs: A Step-by-Step Guide
This is my favorite method when the heads are young and small, and I know that in the winter I’ll want to serve them whole, brushed with butter. The main rule here is that blanching is essential; otherwise, the heads will have an unpleasant grassy aftertaste after thawing, because the enzymes that break down flavor and color continue to work even in the freezer.
- Remove the leaves and fuzz from the heads of cabbage, then rinse them under cold running water.
- Bring a large pot of water to a boil—you’ll need about 4 liters for 4–6 heads of cabbage.
- Place the heads of cabbage in boiling water and blanch them: small heads with a diameter of up to 4 cm—6–7 minutes; medium heads—8 minutes; large heads thicker than 5 cm—10–11 minutes.
- Immediately after blanching, transfer the heads to a bowl of ice water for the same amount of time they were cooked—this stops the cooking process and preserves their vibrant color.
- Remove the heads of cabbage from the water, pat them dry with paper towels, or let them air-dry on a rack for 15–20 minutes.
- Wrap each head separately in plastic wrap or place it in a freezer bag, squeezing out as much air as possible.
- Label the bags with the date and place them in the freezer, arranging the heads in a single layer until they are completely frozen (this will take 4–6 hours); only then should you stack them more compactly.
Cabbage heads frozen in this way can be stored for up to 10–12 months without losing quality.
Freezing Whole Corn: Raw and Blanched
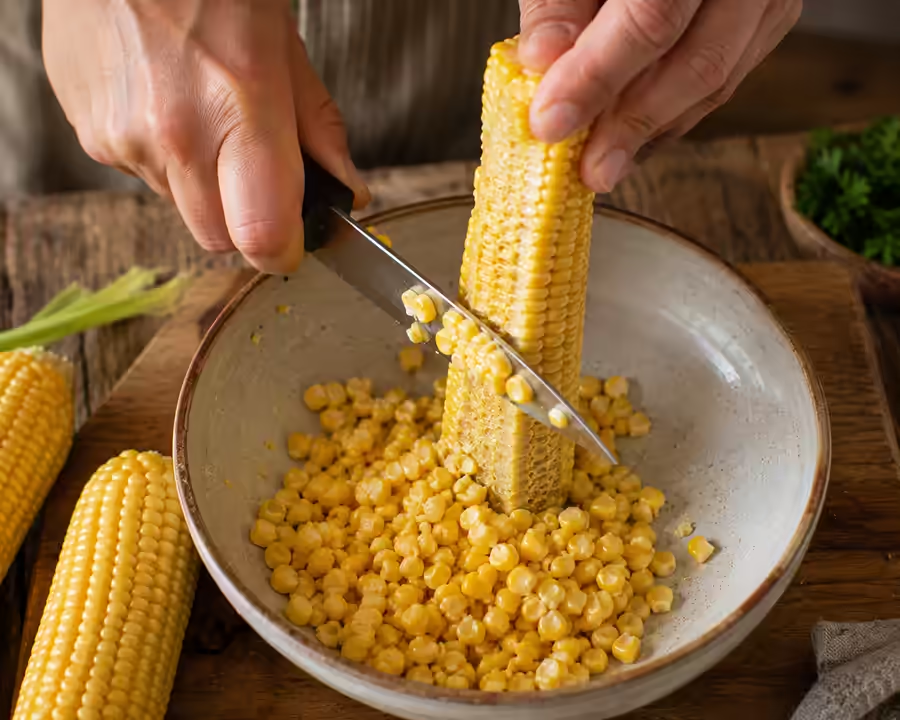
If you tend to add corn to salads, soups, or side dishes more often in the winter, it’s more convenient to freeze the kernels after they’ve been shucked—they take up less space and thaw faster.
Grains after blanching
- Blanch the whole heads of corn as described above, but reduce the time by 2 minutes, since the kernels will continue to freeze a little more afterward.
- Cool them in ice water, then pat them dry.
- Place the head of corn upright on a wide plate or in a deep bowl, and use a sharp knife to cut the kernels from top to bottom, holding the knife close to the cob.
- Spread the grains in a thin layer on a baking sheet lined with parchment paper, and place them in the freezer for 1.5–2 hours to pre-freeze them—this will prevent the grains from sticking together into a single clump.
- Transfer the partially frozen grains to bags or containers, squeeze out the air, label them, and store them long-term.
Raw grains, not blanched
To be honest, this method is faster, but some loss of quality is inevitable. If you’re really short on time, you can cut the raw kernels off undercooked ears of corn and freeze them right away using the same method of pre-freezing on a baking sheet. These kernels have a shorter shelf life—4–6 months—and their flavor is slightly duller because enzymes slowly break down the sugars even in the freezer. I resort to this method only when I need to transport or preserve the harvest urgently and don’t have time for proper blanching.
Freezing Cooked Corn
There’s often leftover boiled corn after a family dinner or picnic—it’s a shame to throw it away. You can also freeze boiled ears or kernels, and it’s even more convenient because all you have to do in the winter is reheat them.
- Let the cooked head of cabbage cool completely to room temperature.
- Pat it dry with a paper towel—excess moisture causes ice crystals to form and ruins the texture.
- Wrap each head separately in plastic wrap or a bag, squeezing out the air, or cut off the kernels and divide them among individual containers.
- Freeze it.
Cooked frozen corn has a slightly shorter shelf life than raw blanched corn—about 6–8 months—and when reheating it, it’s best not to boil it again, but to quickly reheat it by steaming or in the microwave so as not to overcook the kernels.
How to Organize Your Freezer
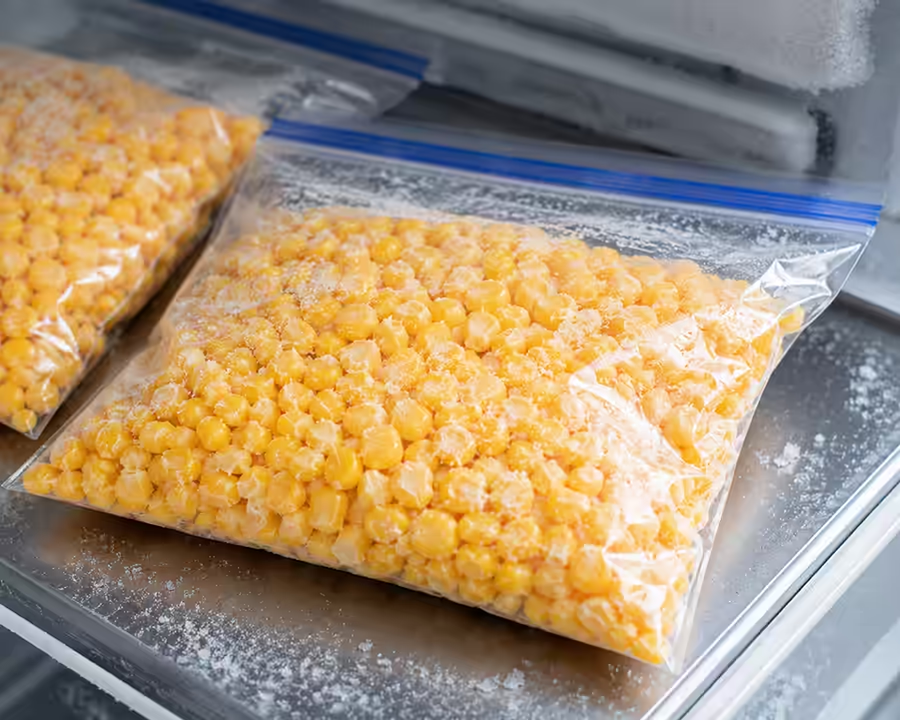
When you freeze corn by the dozen at a time, it’s easy to get lost among all the bags. I always set aside a separate shelf or drawer in the freezer for corn and stack the bags vertically, like books on a shelf—that way, you can see right away how much of each item is left, and I don’t have to rummage through the entire freezer looking for the right bag. On each bag, I write not only the freezing date but also the preparation method—blanched cobs, raw kernels, or boiled corn—so that in the winter I don’t have to guess how much to cook or how to prepare it. This simple system saves a lot of time and stress, especially when the freezer is also packed with other winter preserves.
Comparison of Freezing Methods
| Method | Preparation time | Shelf Life | Best suited for |
|---|---|---|---|
| Blanched cabbage heads | 20–30 minutes per batch | 10–12 months | Serving whole heads of cabbage |
| Blanched grains | 30–40 minutes per batch | 8–10 months | salads, soups, side dishes |
| Raw grains | 15 min | 4–6 months | Instant Freezing Without Waiting |
| Boiled corn | 10 min (no cooking required) | 6–8 months | leftovers from cooking |
What’s the best way to store food: bags, containers, or vacuum-sealed?
What you use to package the corn matters just as much as the freezing method itself. I’ve tried almost every option, and here’s what I’ve concluded.
Regular zip-lock bags are the most affordable option and work well for both whole ears of corn and kernels. The key is to squeeze as much air out of the bag as possible before sealing it. To do this, it’s helpful to submerge the bag in a bowl of water up to the seal: the water displaces the air, and all that’s left is to close the seal.
Vacuum bags are the best choice for long-term storage—more than 6 months. The vacuum almost completely eliminates the product’s contact with air, so the corn doesn’t dry out or develop a freezer burn taste. If you frequently freeze large quantities to last the whole year, a vacuum sealer will quickly pay for itself.
Plastic containers are convenient for storing cooked corn or kernels in portions that you plan to use soon, but they take up more space in the freezer than flat bags.
Regardless of the container, it’s best to freeze corn in a thin, flat layer—that way, it freezes faster and takes up less space on the shelves.
Tips and Common Mistakes
- Don’t skip the blanching step if you plan to store the corn for more than two or three months. Without blanching, enzymes continue to act even at -18 °C, and the flavor gradually deteriorates.
- Don’t overcook them—the kernels will become soft and lose their crunch. Follow the recommended cooking time and cool them immediately in ice water.
- Be sure to dry the heads or kernels before freezing—moisture on the surface forms a layer of ice that ruins the texture and causes the product to freeze solid.
- Freeze in portions that you can realistically use in a single sitting—2–3 heads of corn per bag, or 300–400 g of kernels—so you don’t have to thaw your entire supply just for a handful to put in soup.
- Make sure to remove as much air as possible from the bags—it is the air that causes the gray film and “freezer burn” taste on the food.
- Write the date on the food you freeze—it sounds obvious, but that’s exactly how I stopped finding forgotten bags from three years ago at the bottom of the freezer.
- Do not thaw and refreeze—that’s the quickest way to end up with watery, tasteless corn. The cells in the kernels break down with each freeze-thaw cycle, so the texture becomes mushy and the juice simply leaks out into the bag.
- Keep the freezer temperature stable, no higher than -18 °C. Frequent temperature fluctuations—such as those caused by opening the door or defrosting the freezer—accelerate the formation of large ice crystals, which damage the structure of the grains.
- Do not mix ears of corn at different stages of ripeness in the same bag—young and overripe ears cook differently even after freezing, so it’s best to sort them during the preparation stage.
How to defrost corn
If the corn is blanched, you don’t need to thaw it completely before cooking—you can put the cobs directly into boiling water for 5–7 minutes, and add the kernels straight from the freezer to soup, stew, or a skillet. If you want to thaw it in advance, it’s best to transfer the bag from the freezer to the refrigerator for 8–10 hours or leave it at room temperature for 1–2 hours. You can defrost it in the microwave, but in that case, you should cook the dish right away, since defrosted corn doesn’t keep well if refrozen.
Variations and Presentation
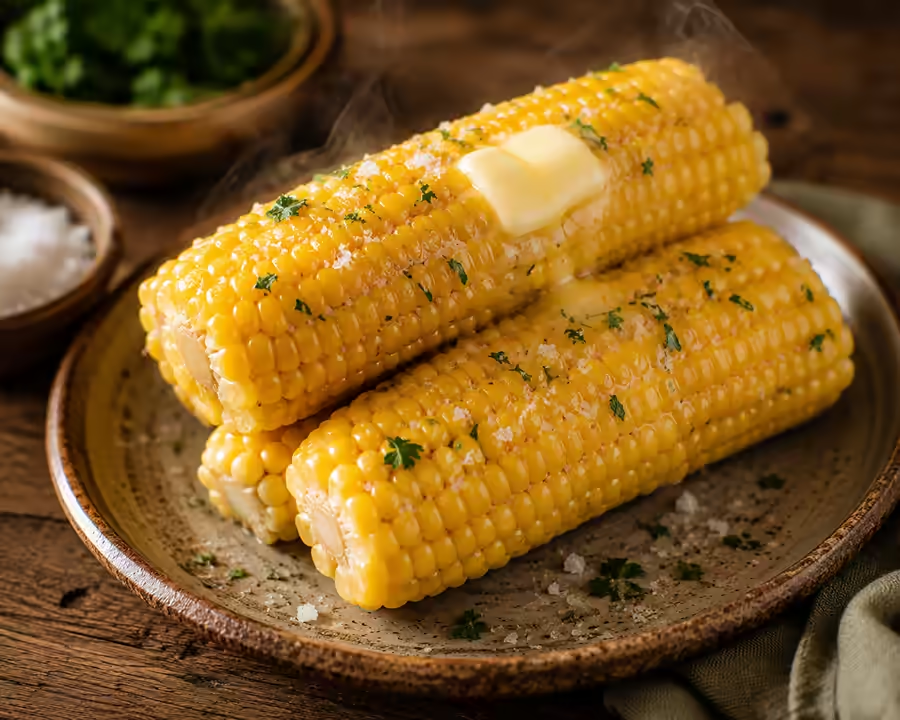
Frozen corn cobs are perfect for boiling, grilling, or roasting in the oven with oil and spices—once thawed, they behave almost like fresh ones. I usually add the kernels to vegetable stews, corn soup, salads with tuna or avocado, fillings for Mexican tacos, or simply sauté them in butter with garlic as a side dish. It’s convenient to reheat cooked frozen corn right on the cob by wrapping it in foil and placing it in the oven for 15–20 minutes at 180 °C—it comes out almost as if it were freshly cooked.
Here’s another option I discovered by chance: instead of thawing the frozen beans, you can grind them right away in a blender with a small amount of cream—this creates a base for cream soup without any extra hassle.
In the summer, when there are plenty of corn cobs, I always freeze some to have on hand for the fall and winter, when I want to add a little summer flavor to everyday meals. Frozen corn kernels pair well with cream cheese and herbs as a quick snack on toast, and the corn on the cob, grilled in a skillet after thawing, tastes almost exactly the same as if it were freshly picked from the garden—the light caramelization on the surface of the kernels comes out just as well.
Nutritional Value of Frozen Corn
Corn is a fairly high-calorie vegetable among garden crops: 100 g of boiled corn contains approximately 85–96 kcal, depending on the variety and ripeness. It contains fiber, which aids digestion, B vitamins, vitamin C, as well as lutein and zeaxanthin—antioxidants that are beneficial for vision. Proper blanching before freezing causes virtually no loss of nutrients: brief heat treatment destroys the enzymes that cause the product to spoil, but the majority of vitamins and minerals remain intact. Therefore, frozen blanched corn is quite comparable to fresh corn in terms of nutritional value.
Can you freeze whole ears of corn without cutting them open or cutting the kernels?
Yes, and that’s exactly what I recommend doing if you have room in the freezer—whole heads retain their juiciness best because they have less surface area exposed to the air than chopped kernels. The only downside is that whole heads take up significantly more space, so if your freezer is small, it makes more sense to freeze part of the harvest as kernels.
Frequently Asked Questions
Is it necessary to blanch corn before freezing it? For long-term storage (longer than 2–3 months)—yes, it’s essential. Blanching stops the action of enzymes that degrade the flavor, color, and texture. Without it, corn quickly loses its quality even in the freezer.
How long can frozen corn be stored? Blanched ears can be stored for up to 10–12 months, blanched kernels for 8–10 months, raw, unblanched kernels for 4–6 months, and cooked corn for 6–8 months at a temperature of -18 °C or lower.
Can you freeze corn without blanching it? Yes, if you plan to use it within a few months. The taste and texture will be slightly worse than those of blanched corn, but for a quick method, this is an acceptable compromise.
Why does frozen corn sometimes turn out rubbery? Most often, the reason is overripe ears with hard kernels, or the fact that the corn was frozen without being blanched and stored for too long. Corn also becomes rubbery after being refrozen.
Can you freeze corn on the cob along with the husks? You shouldn’t—the husks take up a lot of space, don’t allow the cold to penetrate evenly, and make it difficult to blanch the corn properly. It’s always best to remove the husks before freezing.
How can you tell if corn has gone bad in the freezer? Signs: a gray or yellowish film instead of its natural yellow color, a strong freezer odor, an excessive amount of ice in the bag, or shriveled, dried-out kernels. It’s best not to use corn like this.
Should you add salt to the water when blanching? No, salt is not needed—and is even undesirable—for blanching before freezing; it can draw some moisture out of the kernels. It’s better to add salt later, when you’re thawing and preparing the corn for serving.
Can you freeze corn along with other vegetables in the same bag, for example, for a vegetable mix to use in soup? Yes, you can, and it’s actually convenient if you’re planning to make a specific dish in the winter. The main thing is to ensure that all the vegetables in the mix have the same blanching time; otherwise, some will be overcooked while others remain undercooked. Corn, carrots, and peas, for example, can be combined without any problems, but zucchini and eggplant are best frozen separately because their textures and cooking times differ significantly.